

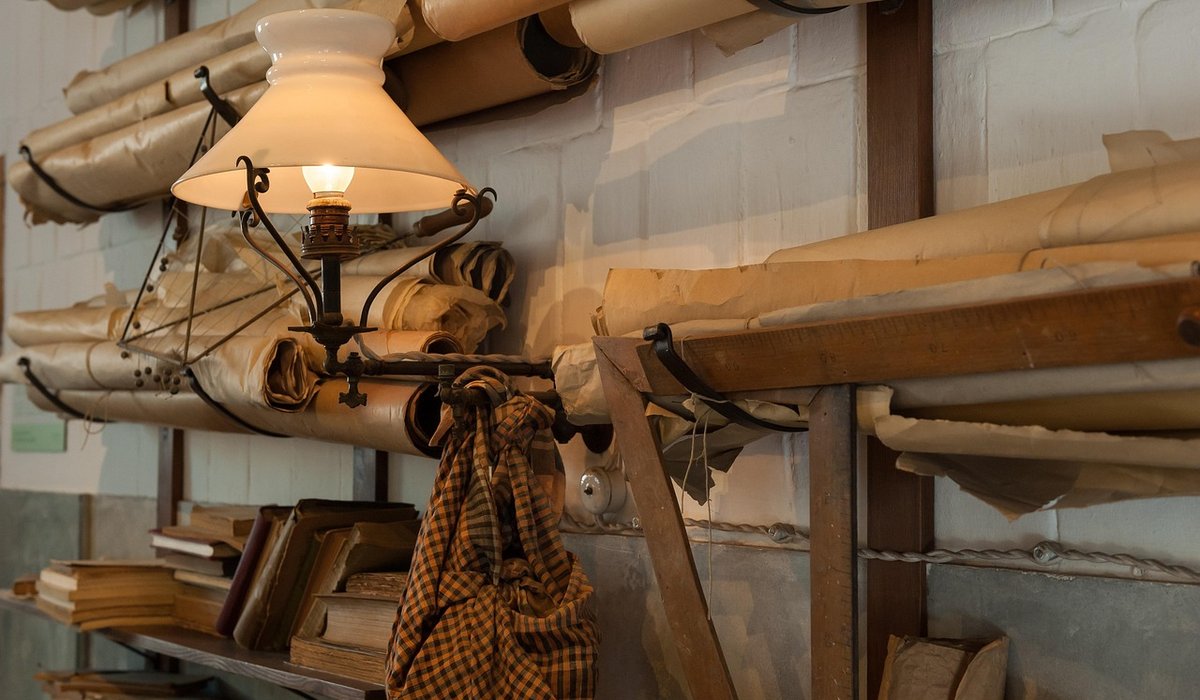
A wooden crate is one of those quietly perfect objects. It already has the grain, the patina and the honest proportions that so much new shelving tries, and fails, to imitate. Give it half an hour of sanding and sealing, mount it on a plain wall, and you have somewhere to rest candles, small books and the odd foraged treasure. Better still, you have done it for the price of a sheet of sandpaper and a tin of wax.
Why a Crate Works So Well as a Shelf
Most crates arrive with the job half done. The sides act as natural bookends, so nothing slides off the ends. The shallow depth — usually between 20cm and 35cm — keeps the display intimate rather than cavernous, which suits the way we actually live in a small room. A deeper shelf invites clutter; a crate quietly refuses it.
There is also the matter of honesty. A crate was made to carry things, and it still looks like it. Mounted on a plain plastered wall, it adds warmth and a little history without pretending to be anything grander. That is exactly the sort of texture a cosy vintage room needs: something that looks gathered rather than bought.
Choosing and Checking Your Crate
Apple crates, wine crates and old greengrocer boxes turn up at car boot sales, reclamation yards and, occasionally, leaning against a skip with your name on it. Look for thin slats, a bit of stamped lettering and a colour that has faded rather than been stained.
Before you fall in love with it, give it a proper inspection:
- Woodworm: look for small flight holes and a dusting of fine powder beneath. Tap the wood sharply. If in doubt, leave it — treating an active infestation is not worth the risk to the rest of your furniture.
- Damp and mould: a musty smell or black speckling means it has been stored badly. A dry, airy week in a shed sometimes rescues it; a soft, crumbling slat does not.
- Metal: remove stray staples with pincers and tap any proud nails flush with a hammer and punch. Rust stains will bleed through any finish you apply.
- Structure: press the base slats. If they flex noticeably, screw a thin batten underneath before you hang it.
Sanding and Sealing for a Soft, Lasting Finish
Work outside or in a well-ventilated shed. Start with 80-grit paper to lift grime and any raised grain, then move to 120, finishing with 180 or 240. You are not trying to make the wood new — just to remove splinters and give the surface something for the wax to grip. Wipe away the dust with a barely damp cloth and let it dry completely.
Then choose your finish:
- Clear beeswax gives the softest, most muted sheen and suits pale crates beautifully. Apply thinly with a lint-free cloth, leave for twenty minutes, then buff.
- Danish oil sinks in rather than sitting on top, deepening the tone and offering a little water resistance. Two thin coats are plenty.
- Matt varnish is the sensible choice if the shelf will sit near steam or hold a candle, though it looks slightly less tactile.
Whatever you choose, let it cure for a full twenty-four hours before loading anything onto the crate. Rushing this step is the single most common reason a finish feels tacky for weeks.
Mounting It Firmly on the Wall
Decide first whether you want the crate as a shelf (base down, open front) or as a display box (open side facing out). Most people want the shelf.
Weigh the full load in your head before you drill. A crate holding three glass candle holders, a small stack of hardbacks and a bowl of pebbles can easily reach 6kg to 8kg. Find the studs with a detector where you can, or use plasterboard fixings rated well above that figure.
The neatest method is a French cleat: two angled battens, one screwed to the back of the crate and one to the wall, which lock together and let you lift the whole thing off for dusting. Two L brackets beneath the base are quicker and perfectly sound. Use a spirit level, mark through the bracket holes, drill pilot holes, and fix with screws whose colour suits the wood — aged brass or black rather than bright zinc.
Once mounted, press down gently with your full weight before you trust it with anything breakable. And keep candles in glass or ceramic holders, well away from dried foliage. Open flame and dry seed heads are a poor pairing.
Styling It with Candles, Books and Foraged Finds
The trick with small shelves is restraint. Aim for three or five objects, varying the heights so the eye travels. A tall pillar candle in a smoked-glass holder, a leaning row of three small books, and a tiny bottle holding a single dried stem will look far better than a full shelf of lovely things competing.
Leave a little bare wood showing at one end. It gives the arrangement room to breathe and makes the crate itself part of the display.
Rotate the contents with the seasons: blossom and feathers in spring, seed heads and conkers in autumn, a sprig of evergreen in winter. Nothing needs to be bought. A shelf that changes with the year is a quiet reminder to slow down, look outside and notice what is already there.
Dust with a dry cloth, re-wax once a year, and resist the urge to fill every gap. A crate looks best when it seems as though it could still carry a little more.





John Doe
14 January, 2022Having no content in post should have adverse..
Chauffina Carr
10 April, 2022We use these tests all time! Killer stuff!
Jim Séchen
16 July, 2022Thanks for all the comments, everyone!